(一)、引言:
在 IQKeyboardManager 和 Masonry 同时使用时,导航栏上移和 make.right失效等问题多多。
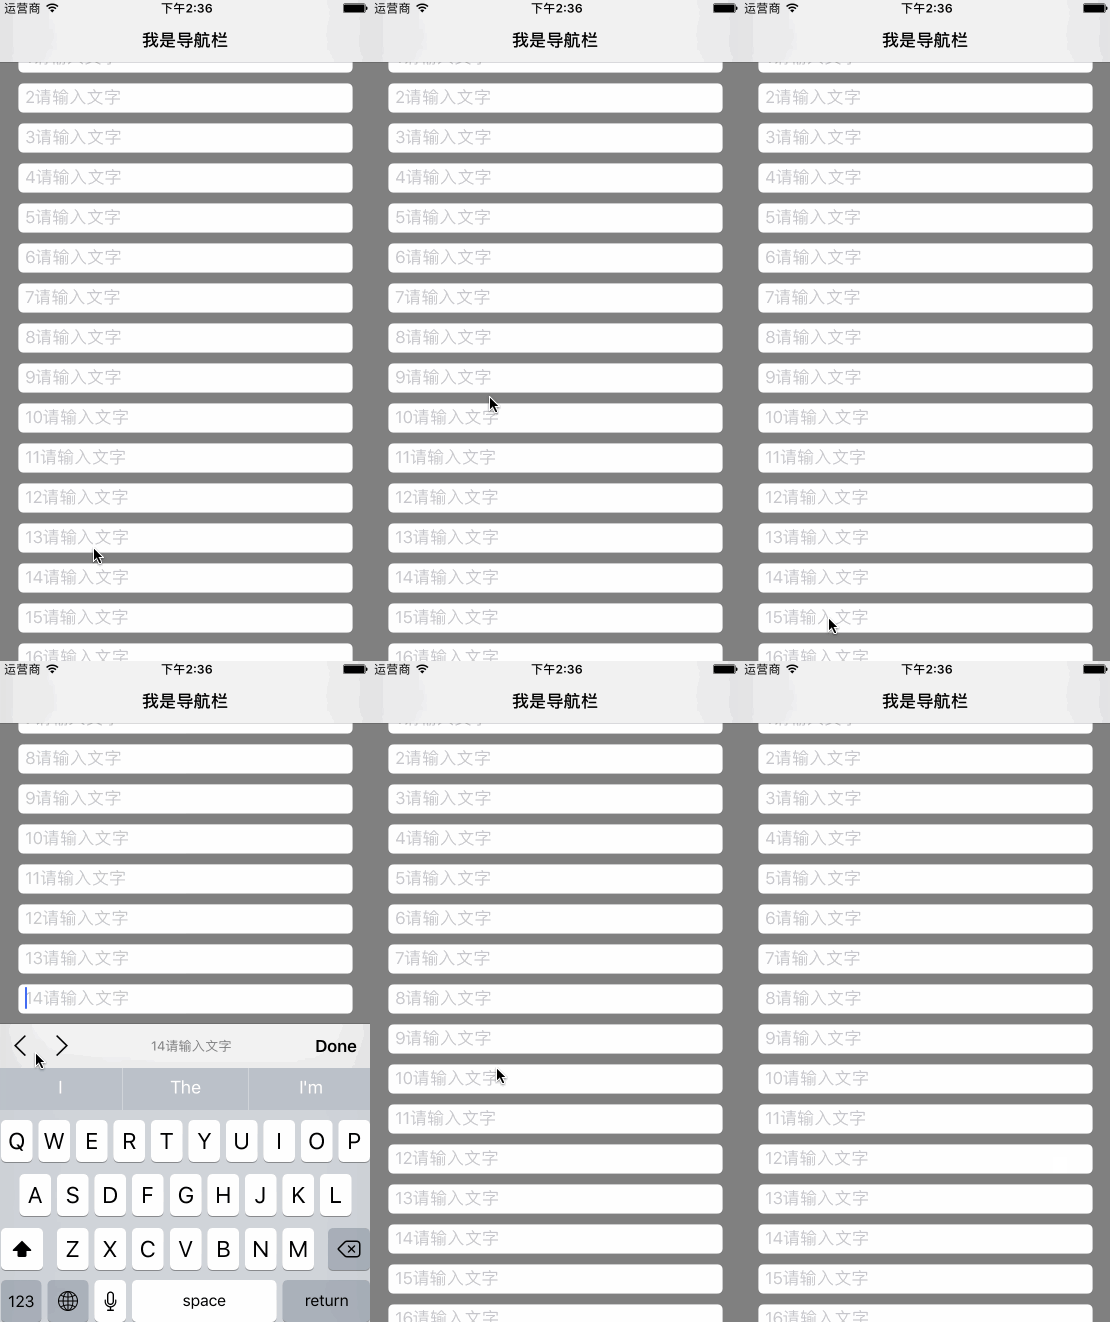
其实我们完美的效果应该是这样的:(NO Pictures say *8 !O(∩_∩)O~)

(二)、问题介绍:
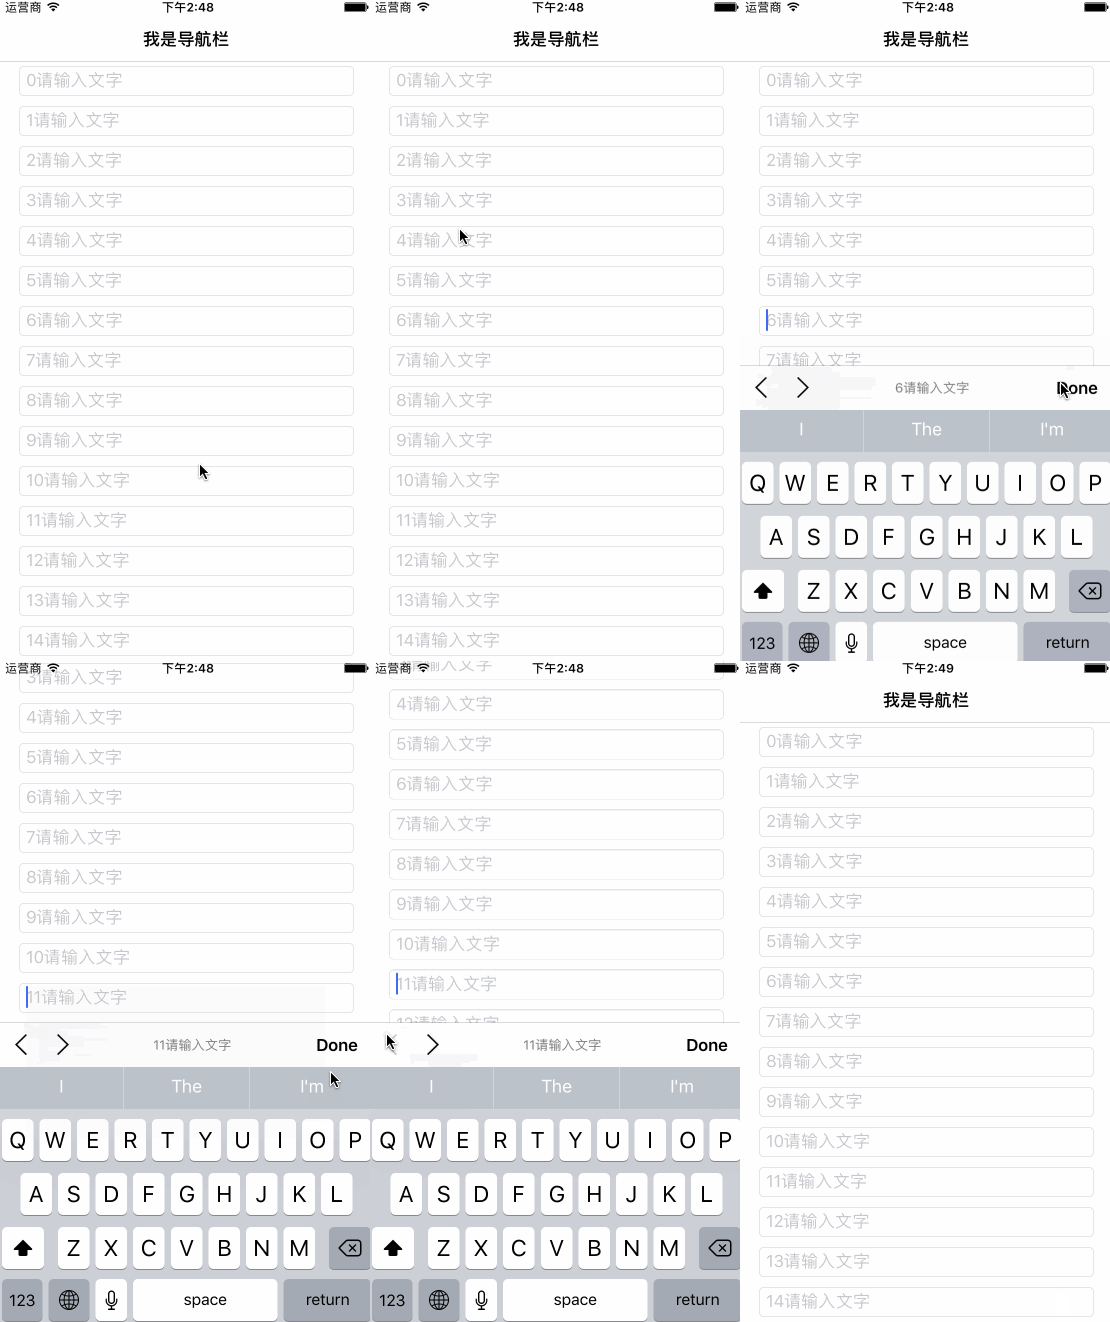
我们使用 IQKeyboardManager 可以很好的处理键盘弹起输入框上移事件。但是当你的 backView 【底视图】不是 tableView 或者scrollView 时。你的导航栏会随着一起往上跑了。
就像这样:

如果是上图那种效果。你的产品经理会放过你这个逗比吗?
不!!!,绝不会。一定会说:“重做。导航栏不能往上跑。”
好吧。不往上跑。于是你在网上会找到 如下方法解决了这个问题:
 -(void)loadView {

    UIScrollView *scrollView = [[UIScrollView alloc] initWithFrame:[[UIScreen mainScreen] bounds]];
    [scrollView setBackgroundColor:[UIColor grayColor]];
    self.view = scrollView;
}
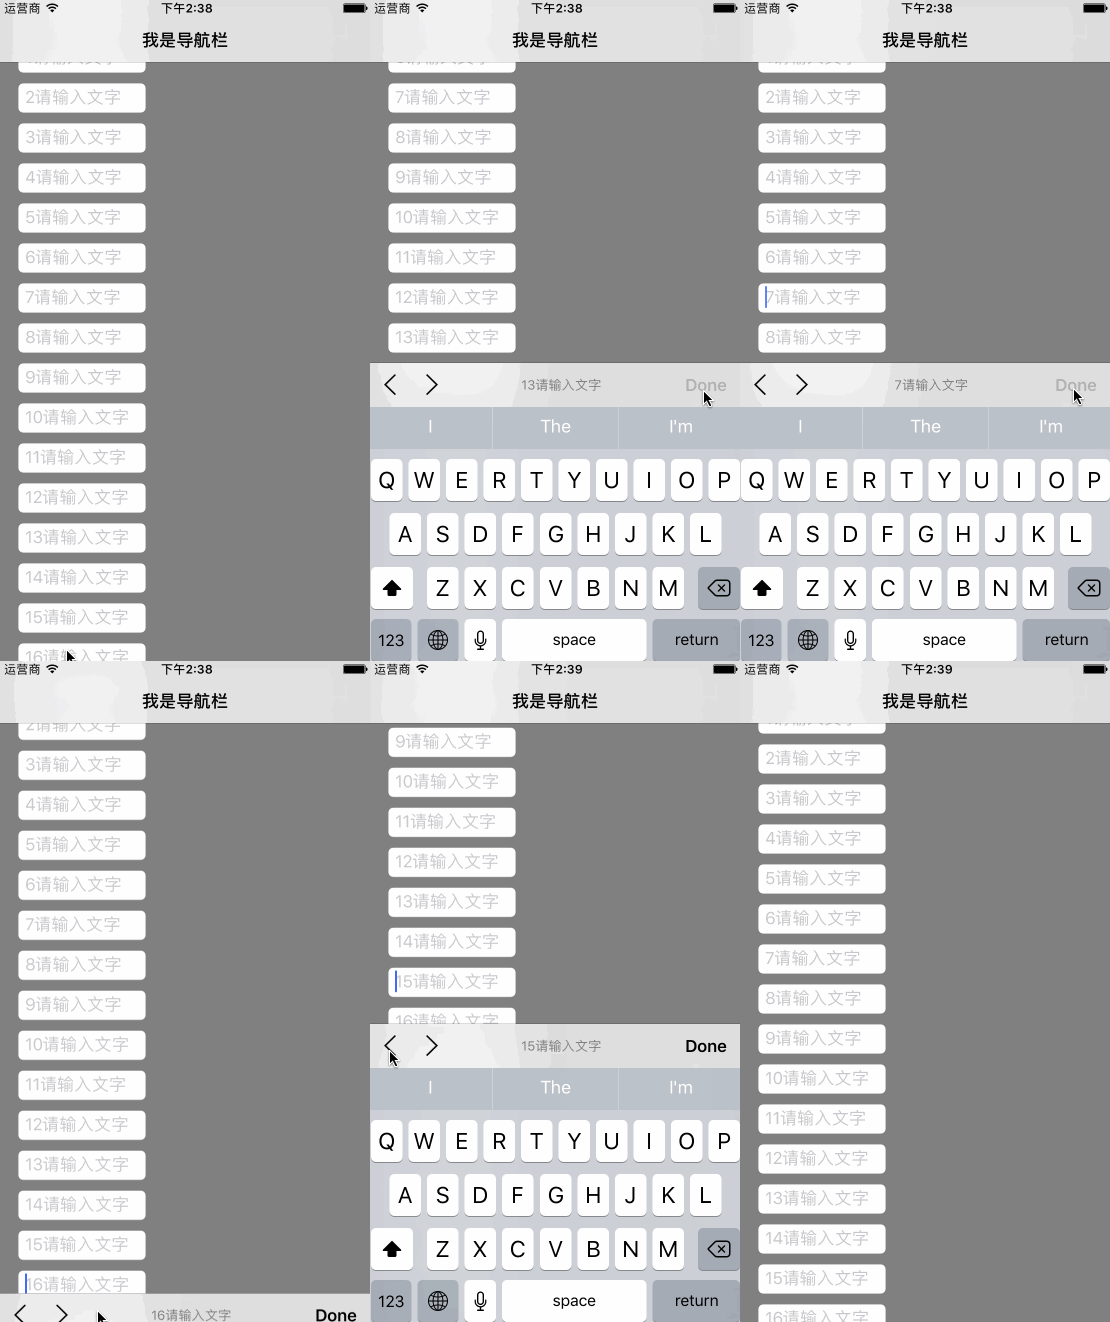
但是虽然不往上跑了。尼玛又出现了其他问题:
像这样:

哎呀,我擦:
怎么我的控件布局都乱了。
【本屌也是在这个地方卡蛮久,最后自己摸索出了本文章的解决办法。】
在经过多次尝试之后你会发现。真正的问题所在是 IQKeyboardManager 和 Masonry 同时使用时,控件放在 scrollView上面。masonry 的 make.right 约束就会失效。
但是 make.width 等等其他约束还是正常的。
你可以不使用 make.right 约束,用 make.width和 make.left代替约束。但是我觉得还是用 make.right 和 make.left 约束组合要好些。不要老是写个 make.width的固定宽度。
(三)、需求目的:
我们想要的效果很简单。就如文章开篇的图一那样。。控件布局正常,键盘弹起时相应的输入框要上抬。但是啊,这个导航栏是坚决不能也上抬的。同时支持 make.right 约束。
(四)、解决方法:
-
1.重写
loadView方法 。把 self.view替换成scrollView。 -
2.背景容器视图(back)必须设置。而且对 back 约束时 要附带
make.width.mas_equalTo(self.view);【不写导致textField布局的make.right失效】 -
3.子控件要直接放在
self.view上。不能放在背景容器视图(back)上面。【放在 back上时会无法点击,无法成为第一响应】
(方法中有点脑残的地方就是设置了 backView 底视图但是没有用它。还没想到好的优化方法,先就实现需求而言想出的这个搓比方法。)
【附上本demo的垃圾代码如下:】
//
//  ViewController.m
//  IQKeyboardManagerAndMasonryConflictDemo
//
//  Created by Mingo on 17/4/6.
//  Copyright © 2017年 Mingo. All rights reserved.
//

#import "ViewController.h"
#import <Masonry/Masonry.h>


@interface ViewController ()

@end

@implementation ViewController

#pragma mark - step 01
-(void)loadView { //不将 self.view 替换成 scrollView 会在点击底部输入框时 导航栏也一起往上跑。

    UIScrollView *scrollView = [[UIScrollView alloc] initWithFrame:[[UIScreen mainScreen] bounds]];
    [scrollView setBackgroundColor:[UIColor grayColor]];
    self.view = scrollView;
}

/**
 1.重写 loadView 方法 。把 self.view 替换成 scrollView。

 2.背景容器视图(back)必须设置。而且对 back 约束时 要附带 make.width.mas_equalTo(self.view);
 【不写导致 textField 布局的 make.right 失效】

 3.子控件要直接放在self.view 上。不能放在背景容器视图(back)上面。
 【放在 back上时会无法点击,无法成为第一响应】

 */

- (void)viewDidLoad {
    [super viewDidLoad];
    self.title = @"我是导航栏";

#pragma mark - step 02
    UIView  *back = [[UIView alloc] init];
    [self.view addSubview:back];
    [back mas_makeConstraints:^(MASConstraintMaker *make) {

        make.edges.mas_equalTo(self.view);
        make.width.mas_equalTo(self.view);
        //此处必填 - 【关键点】 。不写导致 textField 布局的 make.right 失效。
        //(但是布局textField 时使用 make.width不受这句话限制。)
    }];


    for (int i = 0 ; i < 30 ; i++) {

        UITextField *textField = [[UITextField alloc] init];
        textField.borderStyle = UITextBorderStyleRoundedRect;
        textField.placeholder =  [NSString stringWithFormat:@"%d请输入文字",i];

#pragma mark - step 03
        [self.view addSubview:textField];
 //      [back addSubview:textField];
 //      textField 放在 back上时会无法点击,无法成为第一响应。

        [textField mas_makeConstraints:^(MASConstraintMaker *make) {
            make.left.with.offset(20);
            make.right.with.offset(-20);
            make.height.mas_equalTo(30);
            make.top.mas_equalTo(i *40+5);
        }];
    }
}

- (void)didReceiveMemoryWarning {
    [super didReceiveMemoryWarning];
}


@end
完整的 demo 已经上传 github 中:
https://github.com/yfming93/IQKeyboarManagerAndMasonryConflictDemo

